DIY Ironing Board Cover: 7 Easy Steps & Heatproof Tips
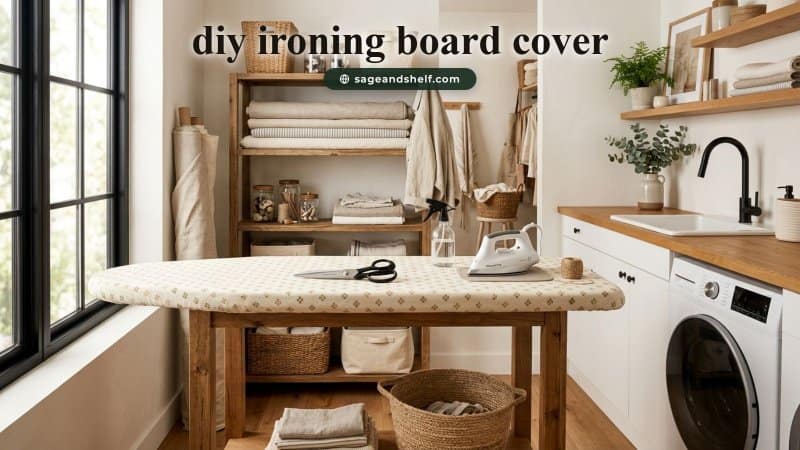
Nothing slows laundry faster than thin pads leaving mesh marks on shirts. When mastering ironing, dense padding cuts pressing time in half. Specifically, sewing your own custom diy ironing board cover transforms a chore into an enjoyable ritual. Furthermore, designer cotton prints add charm. In addition, heat-reflective batting ensures professional crease removal effortlessly.
Most store replacements slip around because generic elastic rarely grips boards. Rather than settling for synthetic covers, making your own lets you control thickness. Therefore, crafting a tailored diy ironing board cover represents an affordable craft with daily payoff. With basic sewing skills, you build a durable pressing surface. Consequently, freshly pressed clothing looks immaculate.
What Is a DIY Ironing Board Cover and Why Make One?
A diy ironing board cover is a slipcover combining canvas with heat-reflective batting and a drawstring hem. Making one guarantees a snug fit over any board size. In fact, this specialized multi-layer construction speeds up pressing significantly.
Moreover, crafting your own cover replaces disintegrating foam with durable batting. In addition, quality cotton duck fabrics withstand scorching far better than polyester covers. Consequently, investing one hour into a custom pressing cover elevates home sewing.
| Feature Comparison. | Store-Bought Generic Pad. | Custom DIY Cotton Cover. | Professional Studio Mat. |
|---|---|---|---|
| Average Total Cost. | $20 to $35. | $14 to $24. | $65 to $110. |
| Thermal Insulation. | Thin 3mm Foam. | Insul-Bright & Cotton. | Heavy 10mm Wool Felt. |
| Tension Attachment. | Loose Elastic Trim. | Locking Paracord Hem. | Steel Under-Clamps. |
| Expected Lifespan. | 6 to 12 Months. | 3 to 5 Years. | 5+ Years. |
Step 1: Trace Your Board Frame to Create a Custom Pattern.
Commercial boards vary widely in nose taper and length. First, place your ironing board face-down directly onto paper. Trace around the perimeter using tailor chalk to create an exact profile.
Next, measure three inches from your traced baseline. This extra margin provides ample room for thick batting layers and a drawstring channel. In addition, smooth the nose curve with a ruler. Therefore, drafting an accurate pattern ensures your diy ironing board cover fits tightly.
Step 2: Select Heat-Resistant Cotton and Thermal Batting.
Synthetic fabrics melt quickly under high-temperature iron settings. Instead, experienced sewists choose unwashed cotton duck, twill, or linen canvas. Natural plant fibers endure heat without scorching or odors.
| Project Component. | Recommended Material. | Estimated Cost. | Key Performance Benefit. |
|---|---|---|---|
| Top Outer Shell. | 100% Cotton Duck (7-9 oz). | $8 to $12. | Scorching resistance & breathability. |
| Heat Reflective Core. | Insul-Bright Mylar Batting. | $6 to $9. | Reflects heat upward into fabric. |
| Base Cushion Layer. | Natural Cotton Quilt Batting. | $5 to $7. | Absorbs moisture & cushions seams. |
| Cinch Hardware. | 1/4-inch Paracord & Toggle. | $2 to $4. | Maintains drum-tight surface tension. |
Specifically, layer Insul-Bright reflective batting between outer canvas and bottom flannel. The metallic film redirects heat into garments, cutting pressing time. In addition, pre-washing fabric eliminates future shrinkage. Ultimately, premium raw materials ensure your diy ironing board cover performs flawlessly.
Step 3: Cut the Fabric Sandwich and Baste Layers Together.
Cutting fabric pieces haphazardly causes awkward puckering along the tapered front nose. First, lay your cotton canvas flat on a cutting mat. Use a rotary cutter to slice along the outer expansion line.
Next, cut thermal batting and flannel smaller than outer canvas. Trim batting layers to match board dimensions. In addition, pin the three layers together and baste around edges. Consequently, disciplined cutting prepares your diy ironing board cover for stitching.
Step 4: Sew a Continuous Bias Tape Drawstring Casing.
Gathering fabric smoothly around tight curves requires a flexible, durable perimeter channel. In contrast to folded hems, bias tape navigates curves easily. Pin bias tape along the raw perimeter on the wrong side.
Stitch along both outer edges of bias tape, leaving a one-inch opening near the tail. This opening serves as the entry point for your drawstring. In addition, reinforce the slit with backstitches to prevent tearing. Therefore, a smooth casing allows your diy ironing board cover to cinch drum-tight.
Step 5: Thread Heavy-Duty Cord and Attach a Cord Lock Toggle.
Flimsy elastic bands eventually degrade and lose stretch from repeated steam exposure. In contrast, nylon paracord paired with a toggle maintains permanent tightness. Attach a safety pin to one end of your cord.
Feed the pin smoothly through the bias channel until it emerges from the opposite opening. Next, thread cord ends through a cord stop, tying stoppers. In addition, test the glide by pulling cord tails. Consequently, reliable hardware keeps your diy ironing board cover locked in place.
Step 6: Mount the Cover and Steam-Press for a Custom Fit.
Installing your freshly sewn cover requires methodical smoothing from the front nose backward. First, slip the tailored nose pocket over the board tip. Slide your cord toggle tight against the casing opening.
Next, plug in your iron and press with steam. Steam heat molds cotton fibers and thermal batting directly to board contours. In addition, tighten the toggle once more to remove slack. Ultimately, careful fitting ensures your diy ironing board cover feels rock solid.
Step 7: Maintain and Wash Your Custom Cover Properly.
Starch residue and mineral deposits build up over time. To keep your pressing board hygienic, loosen the cord toggle and remove the cover periodically. For example, machine wash on gentle cycle using cold water.
Air dry the cotton cover completely to prevent heat distortion of inner reflective film. Furthermore, wipe down the frame with a damp cloth to prevent rust. In addition, keep a pressing cloth nearby to protect prints. Therefore, consistent care preserves your custom pressing cover for years.
Common DIY Cover Mistakes to Avoid Proactively.
Even enthusiastic makers make calculation errors when sewing their first custom pressing pad. For instance, using polyester thread causes melted seams under iron heat. Always construct your cover using heat-resistant cotton thread.
Another frequent error is cutting seam allowance too narrow. In contrast, maintaining a three-inch drop ensures the drawstring grips securely. By avoiding these common errors, your diy ironing board cover delivers exceptional results.
Long-Term Aesthetic Charm and Laundry Efficiency.
Investing a weekend afternoon in practical sewing crafts delivers lasting satisfaction during laundry routines. In fact, a stylish pressing station transforms utility corners into creative retreats. Crisp cotton prints coordinate beautifully with laundry room decor.
Afterward, enjoying lightning-fast ironing results and smooth fabric glides brings immense daily satisfaction. Consequently, taking the time to sew a custom pressing board upgrades your home thoughtfully.
Frequently Asked Questions About DIY Ironing Board Covers.
Q1: What is the best fabric for an ironing board cover?
Heavyweight unwashed 100% cotton canvas or cotton duck offers superior heat resistance, durability, and fabric glide.
Q2: Is Insul-Bright necessary for an ironing board pad?
While optional, Insul-Bright reflects heat back into garments, dramatically cutting pressing time and protecting foam.
Q3: How much fabric do I need for a standard ironing board?
Standard 54-inch boards require two yards of 45-inch or 54-inch wide cotton fabric plus batting.
Conclusion: Enjoy Faster Pressing with a Custom Cover.
In summary, constructing a tailored pressing cover combines thermal insulation and durable cotton textiles. By tracing an accurate template and layering reflective batting, you create a quality pressing station. Embrace these simple sewing steps, craft your own diy ironing board cover, and press clothes with ease.
Visit sageandshelf for more details.