Retaining Wall Block Fire Pit: 9 Best DIY Backyard Ideas
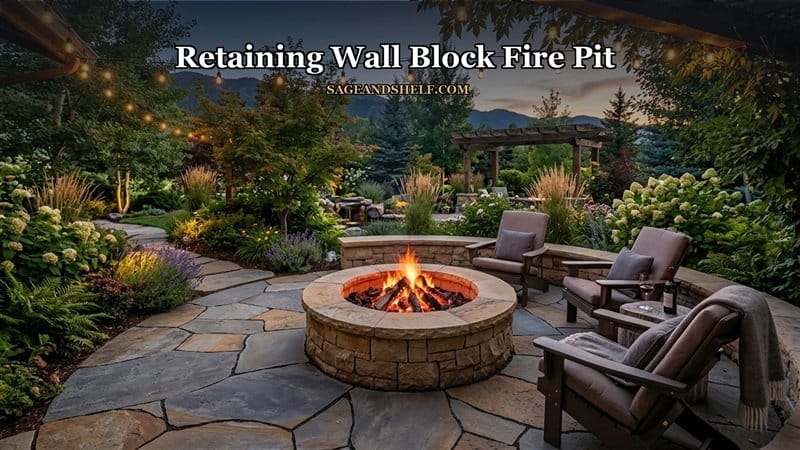
Gathering around a glowing backyard campfire transforms cool evening breezes into memorable social moments with family and friends. Building an enduring retaining wall fire feature anchors your landscape design beautifully. Rather than buying thin metal fire bowls, concrete masonry blocks provide permanent architectural elegance. Specifically, constructing a retaining wall block fire pit allows homeowners to build custom, heavy-duty hearths with basic tools. In addition, thoughtful masonry craftsmanship adds substantial visual value to your outdoor living space.
Many property owners worry about challenging bricklaying skills or costly mortar mixing equipment. Fortunately, interlocking retaining wall pavers require only crushed stone leveling and simple dry-stacking methods. Therefore, discovering how to plan and assemble your custom hearth saves money while delivering rugged durability. When integrated alongside a comprehensive yard landscaping guide, your backyard patio becomes a welcoming sanctuary. Consequently, following structured masonry techniques ensures your DIY fire feature performs safely across every season.
What Is a Retaining Wall Block Fire Pit and Why Build One?
A custom stone hearth is a circular or square open-air fire enclosure built with textured concrete wall stones. Building a retaining wall block fire pit contains hot wood coals safely while radiating soothing radiant heat. Moreover, heavy precast blocks resist harsh freeze-thaw cycles far better than lightweight retail fire pits. In addition, dry-stacked stone systems allow natural airflow while containing embers within a designated safe zone. Consequently, mastering this outdoor project combines functional warmth with timeless backyard hardscape styling.
| Block Material Type. | Block Shape Style. | Diameter Capacity. | Estimated Project Cost. |
|---|---|---|---|
| Textured Concrete Blocks. | Angled Trapezoid. | 36 to 48 Inches. | $120 to $180. |
| Split-Face Cast Stone. | Tapered Curve. | 40 to 52 Inches. | $175 to $260. |
| Tumbled Architectural Units. | Interlocking Wedge. | 44 to 56 Inches. | $220 to $320. |
| Natural Quarry Stone. | Rough Hewn Wedge. | 38 to 50 Inches. | $280 to $450. |
Idea 1: Select Trapezoidal Curved Blocks for Circular Precision.
Standard rectangular concrete bricks leave awkward outward gaps when arranged in round geometric configurations. Instead, choose tapered trapezoidal blocks manufactured specifically for curved landscape garden walls. The angled side faces fit tightly against neighboring stones without requiring complex diamond blade miter cuts.
First, determine your desired inner diameter based on your intended steel liner size. Most residential DIY fire pits require between twelve and sixteen tapered units per complete circular tier. In addition, verify that your chosen blocks feature textured split faces on the exposed front surfaces. Therefore, selecting purpose-built curved stones forms the foundation of outdoor masonry success.
Idea 2: Excavate a Stable Level Trench with Crushed Gravel.
A solid gravel sub-base prevents ground settling and keeps heavy concrete tiers perfectly level. First, mark your circular layout using a center stake, string line, and bright marking spray paint. Excavate the sod and topsoil six to eight inches deep across the entire marked circle.
Next, pour three to four inches of angular crushed gravel or paver base into the trench. Compact the stone aggregate thoroughly using a heavy manual hand tamper until the surface feels rock solid. For instance, coarse aggregate allows rainwater to drain rapidly away from burning coals. Consequently, thorough ground excavation protects your masonry hearth from seasonal frost heaving.
Idea 3: Seat and Level the Critical Foundation Tier.
The first layer of concrete stones dictates the structural alignment of the entire finished fire pit. First, place your starting curved block firmly onto the compacted gravel bed. Check levelness across both the length and width of the stone using a magnetic torpedo level.
Next, set adjacent blocks tightly end-to-end, tapping high spots gently with a rubber mallet. Add small pinches of coarse sand beneath low stones to achieve uniform surface height. In addition, bury half of this first foundation tier below finished grade for maximum lateral stability. Therefore, taking extra time on your base ring ensures every subsequent tier stacks effortlessly.
Idea 4: Fit a Heavy-Gauge Steel Fire Ring Insert.
Direct high-temperature campfire flames can gradually crack standard concrete blocks over time. To protect your masonry investment, install a rolled carbon steel fire ring inside the inner chamber. The protective steel barrier deflects intense radiant heat while providing a tidy lip for cooking grates.
First, measure the outer steel flange to ensure a half-inch expansion gap around inner block faces. This thermal gap allows the steel liner to expand freely without pushing outward against stones. In addition, steel inserts feature upper rims that rest neatly across the top stone tier. Consequently, adding a protective ring extends the functional lifespan of your retaining wall block fire pit.
Idea 5: Stagger Vertical Joints for Rigid Interlocking Strength.
Stacking vertical stone seams directly above one another creates weak structural fault lines that wobble. Instead, utilize a classic running bond pattern by centering each upper block over the seam below. Staggering joints distributes downward weight evenly across the entire circular perimeter.
First, dry-fit the second tier stones, verifying that no vertical joints line up with lower seams. If using blocks with rear interlocking lips, position them according to manufacturer alignment guidelines. In addition, step back periodically to inspect overall circle symmetry from multiple angles. Consequently, staggered joint construction creates a unified monolithic stone structure that withstands heavy leaning.
Idea 6: Secure Upper Tiers with Heat-Resistant Masonry Adhesive.
While bottom stones rely on gravel friction, upper layers require dependable bonding against accidental dislodging. Standard carpenter glue fails rapidly under outdoor weather and high campfire temperatures. Instead, select high-grade polyurethane landscape block adhesive or heat-rated refractory mortar.
Apply two thick zigzag beads of exterior adhesive across the top surface of each lower stone. Set the next block firmly in place, pressing down with steady force to spread the glue bead. Furthermore, wipe away any accidental adhesive squeeze-out before the bonding agent cures. Therefore, polyurethane masonry adhesive keeps your retaining wall block fire pit safe during lively gatherings.
Idea 7: Cap the Top Wall with Smooth Flat Stone Ledges.
Adding flat capping stones provides a polished visual finish and comfortable ledge space. Flat caps create convenient resting spots for roasting sticks, beverage mugs, and tired feet. Choose precast universal wall caps with smooth sawn tops and textured rustic chiseled edges.
First, arrange cap units dry along the top tier to verify even overhang spacing all around. Mark precise cut angles with a masonry pencil if custom corner trimming is needed. Next, secure each cap stone with exterior polyurethane adhesive for permanent wind and impact resistance. Consequently, premium stone capping elevates your DIY build from basic pavers to designer hardscape.
Idea 8: Line the Inner Hearth with Natural Lava Rock.
Leaving bare soil at the bottom of the fire pit creates soggy mud puddles after heavy rainstorms. In contrast, pouring a porous layer of natural volcanic lava rock enhances combustion airflow. First, spread two to three inches of clean lava rock evenly across the interior bottom floor.
Volcanic stone handles extreme thermal cycles without popping or shattering dangerously like wet river rocks. Moreover, the dark porous mineral bed conceals accumulated wood ash between regular cleanup sessions. When planning cozy outdoor modular seating, radiant floor rock reflects soothing warmth toward your guests. Ultimately, interior lava rock finishing delivers exceptional thermal efficiency and visual sophistication.
Idea 9: Create Surrounding Flagstone Patio and Seating Zones.
A magnificent stone fire pit deserves an equally inviting perimeter patio for comfortable relaxation. First, lay irregular flagstones or concrete pavers in an eight-foot circular zone around the hearth. Install durable polymeric jointing sand between pavers to lock the patio surface and block weeds.
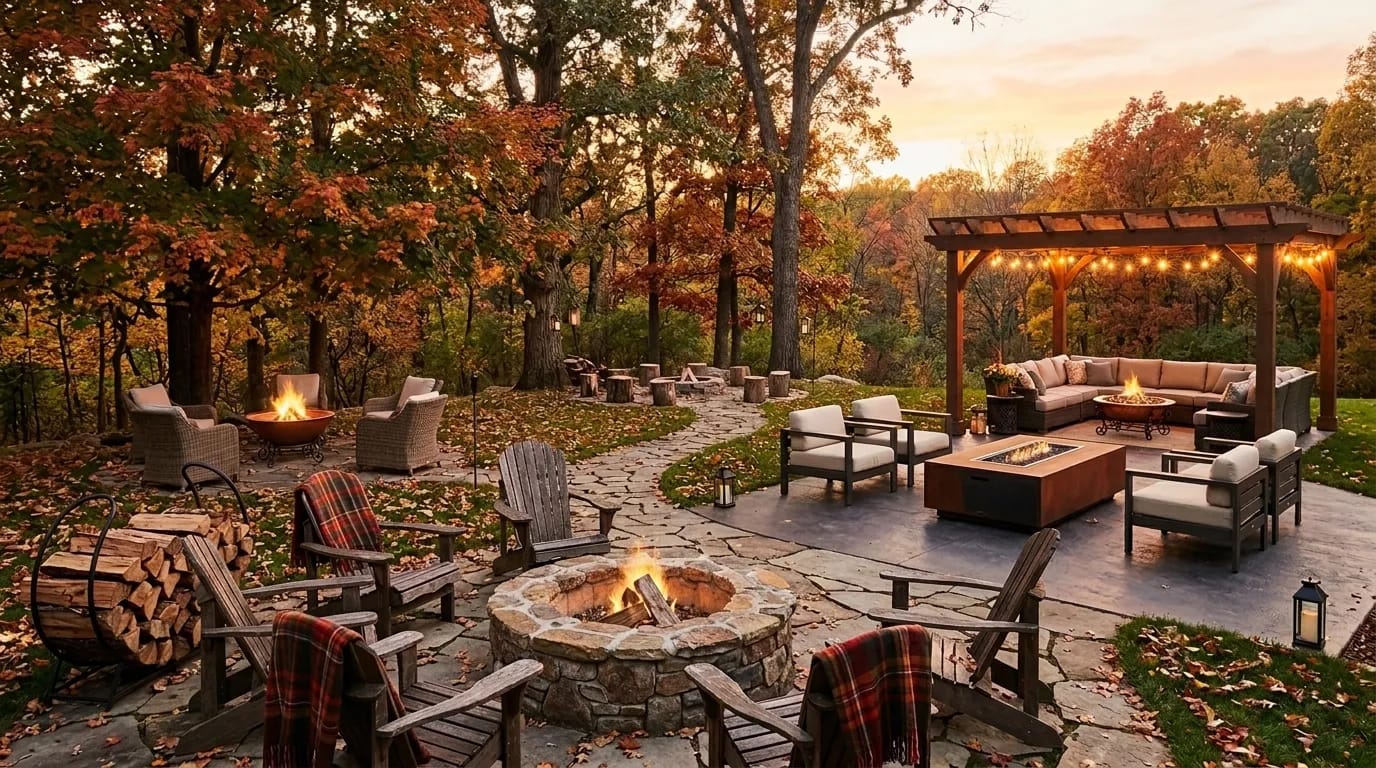
Next, arrange weather-resistant cedar Adirondack chairs, cozy woolen throw blankets, and warm solar lanterns. In addition, keep a metal spark screen and long fireplace tongs nearby for responsible campfire management. Following these cohesive steps proves that a retaining wall block fire pit is the ultimate backyard centerpiece.
Common Fire Pit Masonry Mistakes to Avoid.
Beginner builders often rush assembly and overlook essential safety and drainage rules. For example, using wet river stones or standard red clay bricks can cause explosive steam fractures. Always use kiln-fired firebrick, cast concrete wall units, and certified volcanic lava rock.
Another frequent mistake is building directly on dry lawn grass or wooden deck boards. In contrast, establishing a cleared gravel base twenty feet away from overhanging tree branches ensures complete fire safety. By avoiding these hazardous pitfalls, your outdoor fire project provides worry-free outdoor comfort.
Frequently Asked Questions About Retaining Wall Block Fire Pits.
Q1: How many blocks do you need to build a retaining wall block fire pit?
Most residential DIY builds require thirty-six to forty-eight curved blocks across three to four stacked tiers.
Q2: Do you need mortar when building a retaining wall block fire pit?
No wet mortar is needed. High-heat polyurethane landscape block adhesive provides strong, flexible bonding for dry-stack blocks.
Q3: How deep should the gravel foundation be?
Excavate six to eight inches deep and pack three to four inches of crushed paver base gravel tightly.
Q4: Can you cook over a retaining wall block fire pit?
Yes. Placing a swivel steel cooking grate over your fire ring allows easy charcoal grilling and campfire cooking.
Conclusion: Ignite Warm Memories with Your Custom Fire Pit.
In summary, building a custom outdoor hearth combines rugged masonry, rewarding carpentry, and captivating backyard warmth. Compact a level gravel base and stagger curved block joints. In addition, install a steel fire ring to create an enduring focal point. Gather your masonry supplies and follow these nine practical ideas. Enjoy cozy campfire evenings with family and friends all year long.
Visit sageandshelf for more details.