1/3 Offset Tile Pattern: The Complete Guide to a Cleaner, Stronger Tile Layout
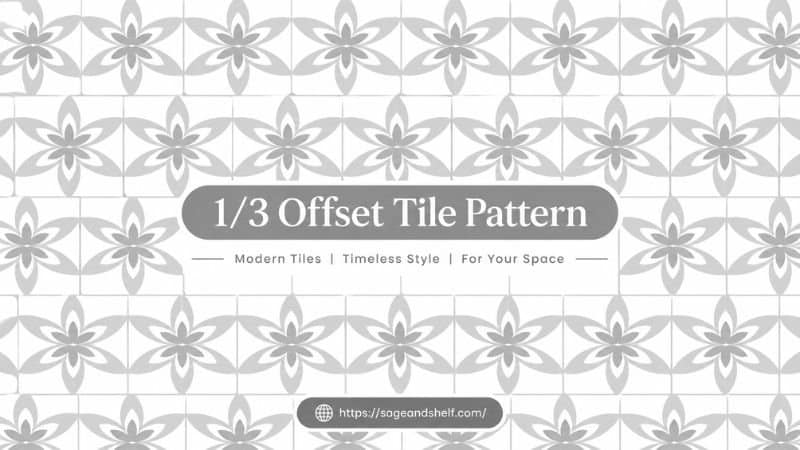
1/3 offset tile pattern is a popular tile layout you may have come across while scrolling through renovation inspiration or discussing tile options with your contractor. It’s quietly become one of the most recommended layouts in the flooring and tiling world — and for good reason. This guide breaks down exactly what it is, why it matters, and how to get it right in your own home.
What Is a 1/3 Offset Tile Pattern?
A 1/3 offset tile pattern is a brick-style tile layout where each row of tiles is shifted by one-third of the tile’s length, rather than the traditional half (50%) offset most people are used to seeing.
So if you’re working with a 12-inch tile, instead of shifting each new row by 6 inches (the classic “running bond” or half-offset pattern), you shift it by 4 inches. The result is a staggered, brick-like look where the seams fall at different points across three rows before the pattern repeats.
It’s a small mathematical tweak, but it has a big visual and structural payoff — especially for large-format tiles.
Why the 1/3 Offset Is Recommended Over a 50% Offset
This is the part most homeowners don’t realize until a tile installer explains it: large-format tiles are prone to lippage and warping when installed with a 50% offset.
Here’s why:
- Manufacturing tolerances mean tiles are rarely perfectly flat — they often have a slight bow or curve along their length (this is called “bow” or “warpage”).
- With a 50% offset, the center of one tile lines up directly with the edge of the tile above and below it. If that center point bows even slightly, the mismatch between the flat edge and the bowed center becomes very visible.
- A 1/3 offset avoids lining up the center of one tile with the edge of another, spreading out any natural warping across the joint instead of concentrating it at one point.
Because of this, most tile manufacturers now recommend a 1/3 offset (or less) for any tile 18 inches or longer — and many specify it as a requirement to keep the warranty valid.
When Should You Use a 1/3 Offset Pattern?
The 1/3 offset isn’t just a trend — it’s a practical solution for specific tile sizes and styles. Consider it for:
Large-Format Tiles (18″ and up)
Planks and large rectangular tiles are the most common candidates. Wood-look planks, large marble-look porcelain, and oversized subway tiles all benefit from this layout.
Wood-Look Plank Tile
If you’re going for a hardwood-flooring aesthetic with porcelain or ceramic planks, a 1/3 offset mimics the natural, staggered seams you’d see in real hardwood — making the finished floor look more authentic.
Kitchen Backsplashes
Long subway-style tiles (like 4×12 or 4×16) look sleek and modern with a 1/3 offset, offering a fresh alternative to the classic half-offset subway look.
Bathroom Walls and Showers
Large-format wall tile in showers is especially prone to lippage issues due to moisture and installation angle — a 1/3 offset helps keep the surface smoother and safer.
How to Calculate and Install a 1/3 Offset Pattern
Getting the math right is the key to a clean installation. Here’s the general process:
- Measure your tile length. Let’s say your tile is 24 inches long.
- Divide by three. 24 ÷ 3 = 8 inches. This is your offset measurement.
- Snap a chalk line at your starting row to establish a straight reference edge.
- Shift each subsequent row by 8 inches relative to the row before it (rather than the tile’s full half-length of 12 inches).
- Repeat the pattern every three rows — after the third row, the offset cycle starts over, keeping the seams from lining up in a repetitive, distracting way.
A few pro tips to keep in mind:
- Dry-lay a section first. Before spreading any thinset, lay out a few rows dry to visualize the pattern and check your math.
- Use tile spacers consistently to maintain even grout lines throughout the offset pattern.
- Plan your layout from the room’s focal point (like a doorway or fireplace) so cut tiles end up in less noticeable areas, such as closets or under cabinetry.
- Check manufacturer specs. Some tile lines specify a maximum offset (like 33% or even less) directly on the box — always confirm before you start.
1/3 Offset vs. Other Popular Tile Patterns
| Pattern | Offset | Best For | Lippage Risk |
|---|---|---|---|
| Straight/Stack Bond | 0% | Small tiles, minimalist looks | Low |
| 1/3 Offset | 33% | Large-format tile, plank tile | Low |
| Half/Running Bond | 50% | Small-to-medium tiles, subway tile | Higher on large tiles |
| Herringbone | Varies (angled) | Statement floors, accent areas | Moderate |
As the table shows, the 1/3 offset sits in a sweet spot — it keeps the classic brick-laid visual appeal while significantly reducing the structural risk that comes with larger tiles.
Common Mistakes to Avoid
- Ignoring the tile manufacturer’s offset limit. Some large-format tiles require an offset of 20% or less due to more pronounced bowing — always check first.
- Skipping the dry layout. This is the easiest way to end up with awkward slivers of tile at the edges of a room.
- Uneven grout lines. Inconsistent spacing draws attention to the offset pattern in the wrong way — invest in quality tile spacers.
- Not accounting for room shape. Irregular rooms may need adjusted starting points to keep the offset looking intentional rather than accidental near walls.
Final Thoughts
The 1/3 offset tile pattern strikes a rare balance: it’s easy on the eyes, forgiving of manufacturing imperfections, and increasingly the industry standard for large-format tile installations. Whether you’re tackling a wood-look floor, a striking backsplash, or a large-format shower wall, this layout gives you the classic staggered aesthetic without the lippage headaches that come with a traditional half-offset pattern.
If you’re planning your next tile project, it’s worth discussing the 1/3 offset option with your installer — and double-checking your specific tile’s manufacturer guidelines before the first tile goes down.
Visit sageandshelf for more details.